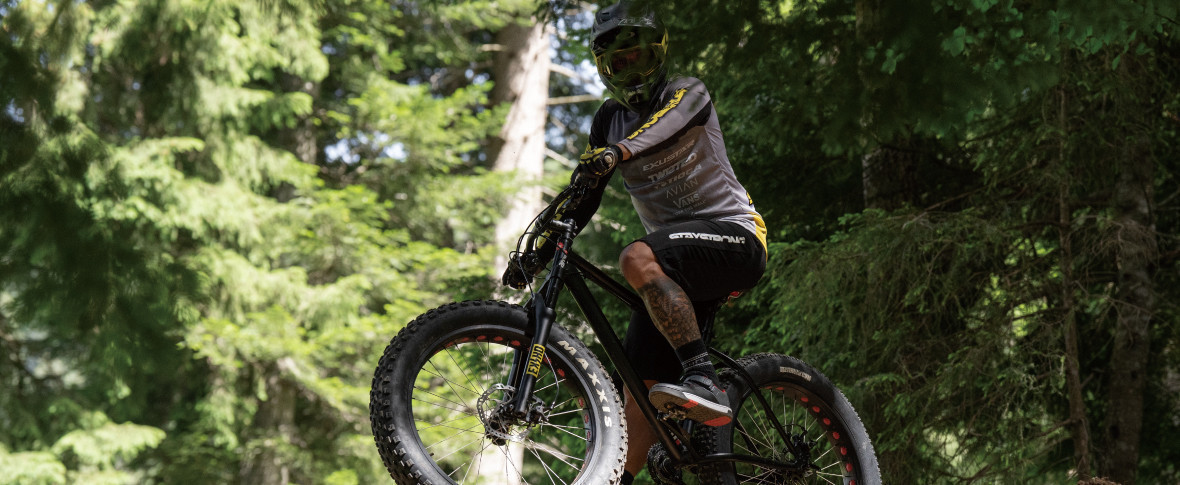
bRON between the tape - A great bike, made greater

Pack your bags, we’re going on an adventure! It’s sometimes easier said than done, especially if you’ve never been bikepacking before. Even if you’re more experienced, you can always fine-tune your setup.
Bikepacking bags are great for cycle touring, lightweight touring and racing. In a lot of ways, they enable you to experience a pure and freeing way of riding bikes: carrying everything you need for a few days’ cycling.
GUIDE TO BIKEPACKING BAGS
Getting the right bikepacking bags for all your kit is the first hurdle you’ll need to overcome. A standard bikepacking setup usually includes the following bags:
- Saddle bag
- Handlebar bag
- Frame bag
- Accessory bags
Before we get into the items we recommend putting in each bag, you need to make sure the bags fit on to your bike frame.
Measure the length of the top tube. Next, put bottles in your bottle cages and measure the space available underneath the top tube. This will help when sizing up frame bags and making decisions about how to carry water on your bike.
WHAT TO PACK IN YOUR SADDLE BAG
Pack the heaviest items towards the bottom of the bag. This will prevent the bag from swinging as you ride. If your bags aren’t waterproof, you might wish to pack your sleeping bag into a dry bag if the weather looks like it might turn sour bag if the weather looks like it might turn sour.
If you have a dropper post on your bike, ensure your saddle bag is compatible with it. The last thing you need is a broken strap moments into a long, multi-day ride.
